In the previous chapter, I explained why landing pages are so important.
But to publish a landing page online, you’ll need a web hosting service (or simply: hosting).
In the web hosting world, there are three main options:
- Shared Hosting
- VPS (Virtual Private Server)
- Dedicated Server
There’s also something called a CDN, but I won’t cover that in this article.
Types of Website Hosting
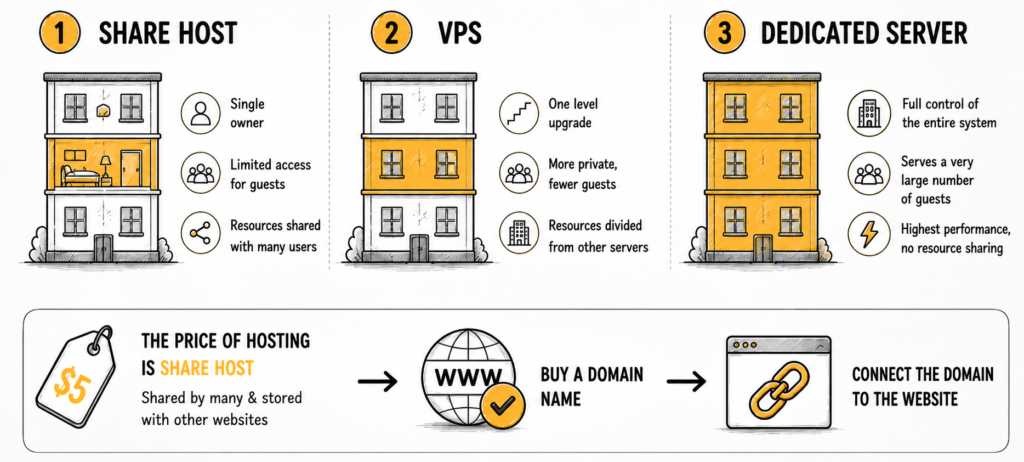
Imagine a large apartment building or dormitory.
1. Shared Hosting.
Shared hosting is like renting a single room.
Your room is just one small space inside the building, so you can only handle a limited number of visitors.
And of course, you’re sharing the same building — and the same resources — with many other people.
2. VPS (Virtual Private Server).
A VPS is more like renting an entire floor of the building.
You get more space, more power, and can handle more visitors.
However, you’re still sharing the overall building with other tenants on different floors.
3. Dedicated Server.
A dedicated server is like renting the entire building for yourself.
You have full control over all the resources, and you can handle a massive amount of traffic.
That’s why dedicated servers are extremely powerful.
Most of the cheap $5 hosting plans you see online are usually shared hosting.
When using shared hosting, your website shares bandwidth and server resources with many other websites.
Next, after buying your hosting, you’ll also need to purchase a domain name and connect it to your website.
Registering and Setting Up a Domain Name
What Is a Domain Name?
A domain name is simply your website address.
For example, jamesthemarketer.com is a domain name.
Domain registrars are companies that reserve, manage, and sell domain names. To launch your website, you’ll need to buy a domain and connect it to your hosting server.
I personally recommend Namecheap.
They frequently offer discounts, and honestly, I’ve never had any serious issues with them during more than 10 years of use.
Basic Setup Process
- Go to Namecheap and register a domain
- Create a Namecheap account
- Choose any domain you want (even a cheap $1 domain is fine to start with)
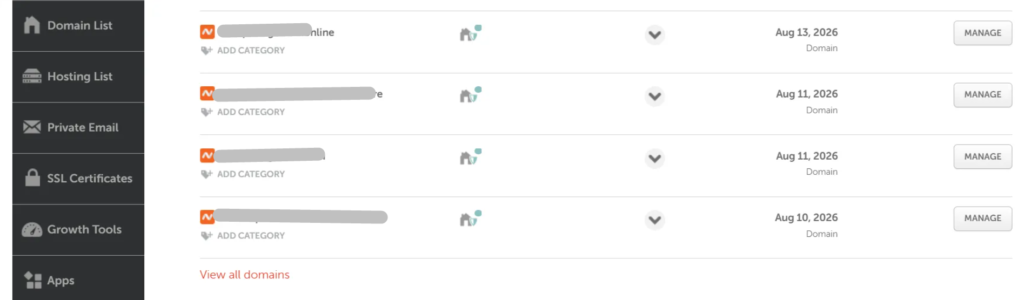
- After purchasing, the domain will appear in your dashboard
- Click “Manage” and point the DNS to your hosting server

I’m only covering the basics here because there are already many detailed tutorials online, and I don’t want to turn this article into a 50-page technical guide.
One small note:
In my experience, domains from Namecheap usually connect to hosting servers very quickly — often within 15 minutes or less.
With some other domain providers, DNS propagation can sometimes take much longer.
Setting Up VPS Hosting
To run your landing pages, you’ll need a server.
As mentioned earlier, there are three main hosting options:
- Shared Hosting
- VPS
- Dedicated Server
When starting out, I highly recommend avoiding shared hosting whenever possible.
Why?
Because once you start pushing real traffic to your landing pages, shared hosting often can’t handle the load.
Your site becomes slow, unstable, or completely unresponsive.
Most cheap shared hosting plans can only handle a small number of simultaneous visitors — especially if you’re using WordPress. Once traffic spikes, performance drops badly.
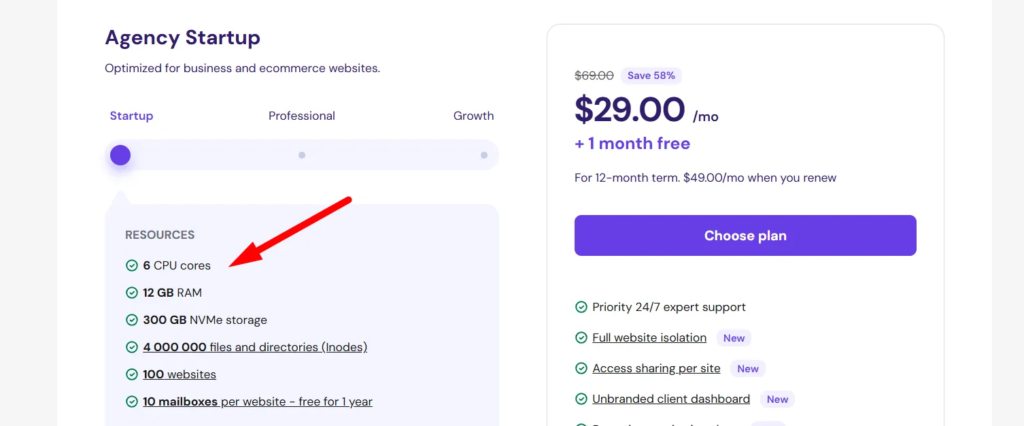
That’s why you should at least use a VPS.
What If You Can’t Afford a VPS?
There are still some smart low-cost alternatives.
For example:
- Amazon S3 — Their infrastructure is extremely powerful, almost comparable to enterprise-level servers, while still being very affordable.
- Cloudflare — They now offer services that let you host landing pages directly, sometimes without even needing to buy a domain name.
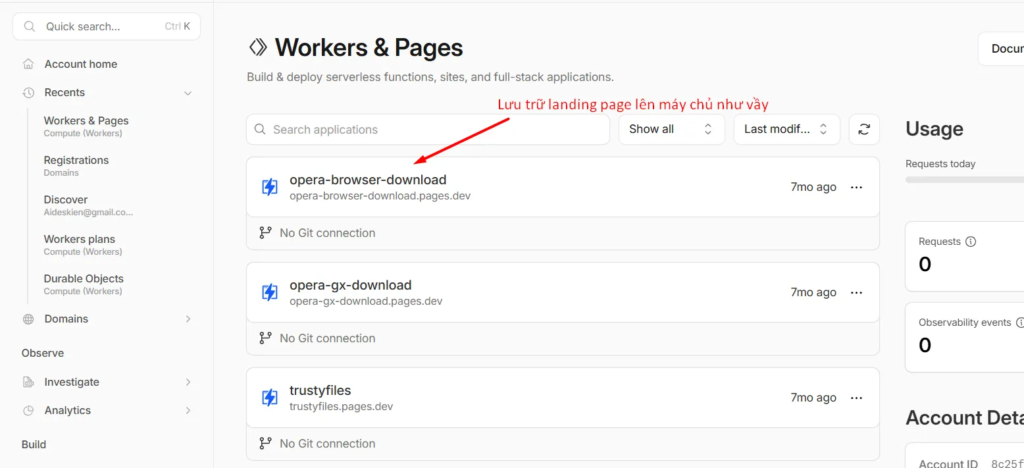
In some cases, you can simply upload your landing page and start running traffic immediately.
Then later, once your affiliate campaigns become profitable, you can upgrade to a stronger VPS.
And honestly, a $50/month VPS is not expensive at all for a profitable affiliate marketer.
So remember:
Try to avoid shared hosting whenever possible.
Affiliate campaigns often require large amounts of traffic, and if your server crashes or slows down, your landing page won’t load properly.
And when that happens, you’re still paying for ads while losing potential conversions.
Build a Full Website to Support Your Affiliate Campaigns
When running affiliate campaigns — especially on platforms like Facebook Ads or Google Ads — I strongly recommend building a complete WordPress website to support your campaigns.
In other words:
After connecting your domain to your hosting, the next step is setting up a WordPress site.
Once that’s done, you should:
- Publish a few articles related to your niche (AI tools can help you write these quickly)
- Set up a basic website design
- Most importantly: create policy pages, disclaimers, and legal pages to reduce advertising risks
This setup may sound complicated at first, but honestly, once you’ve done it a few times, it becomes very easy.
I can usually set up an entire basic affiliate website in about 30 minutes.
After that, you simply create your landing pages, upload them to the site, and start running ads to them.
Read This If You’re a Complete Beginner
Alright… maybe I went a little too advanced there.
If you’re completely new to affiliate marketing, this section may feel overwhelming because there’s a lot of technical information involved.
So don’t worry if some parts feel confusing at first.
Honestly, these things are difficult to explain in a simple way.
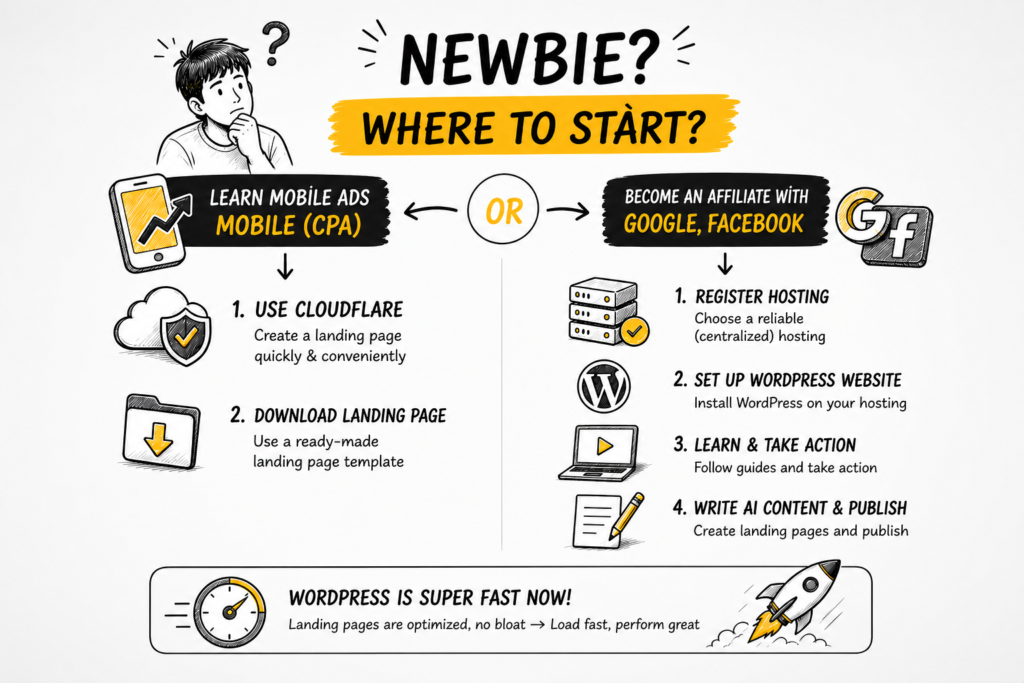
For beginners, I usually recommend two different paths depending on what type of affiliate marketing you want to do.
If You Want to Run Mobile CPA Campaigns:
You can use Cloudflare to host landing pages quickly and easily.
It’s lightweight, fast, and very beginner-friendly.
I’ll also provide downloadable landing page templates inside the VIP course.
If You Want to Run Google or Facebook Ads:
Then I recommend using Hostinger.
Their hosting is stable, affordable, and good enough for most affiliate beginners.
After that:
- Create a WordPress website
- Search YouTube or Google for “how to create a WordPress website”
- Use AI tools to help write content
- Finish setting up the site
- Then create and upload your landing pages
And honestly, modern WordPress websites are already pretty fast.
As long as your landing pages don’t contain huge heavy images, loading speed is usually very good.
Final Thoughts
To publish landing pages online and make them accessible to visitors, you’ll need a hosting server to store your website.
There are many hosting providers out there, but in general, I recommend using a VPS or a Dedicated Server whenever possible because they offer much better performance and can handle significantly more traffic.
However, if you’re starting with a smaller budget, you can still use lower-cost but powerful solutions like Amazon’s infrastructure or Cloudflare.
Once your landing page is online, the next step is connecting it to your campaign links and launching ads on your chosen traffic source.
In the next chapter, I’ll explain how to use tracking tools to monitor and analyze your affiliate campaign data.